 By Hamza@globalarena.org
Have you ever listened to your favorite song and felt that something was missing? Perhaps the bass sounds weak, the vocals are difficult to understand, or the high notes seem too sharp. Sometimes, the problem is not your headphones or speakers. It may simply be the way your audio frequencies are balanced.
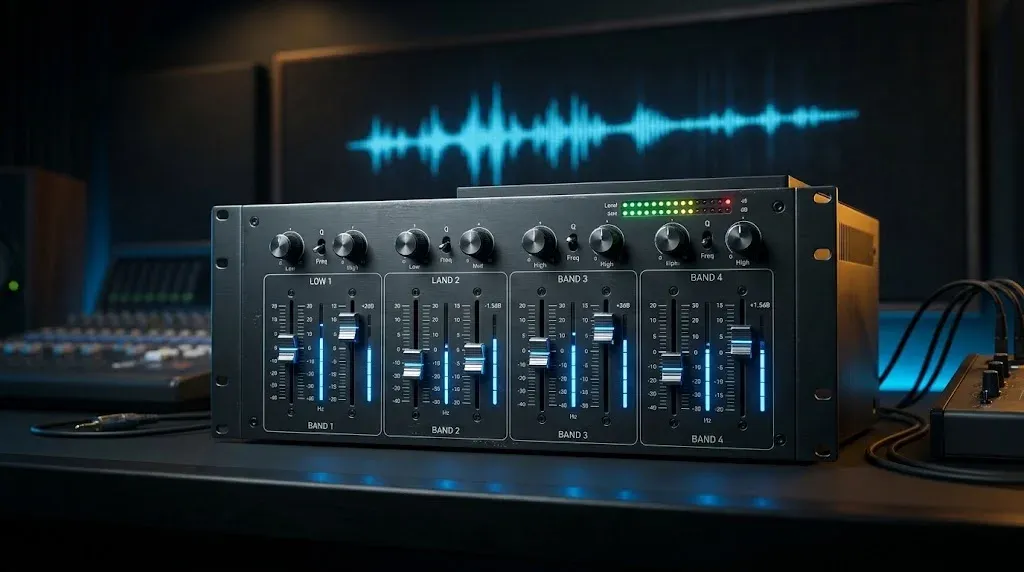
A quad equalizer can help you adjust different parts of the sound spectrum to create a listening experience that feels clearer and more balanced. It gives you control over four frequency ranges, allowing you to make music, speech, and other audio more comfortable to hear.
Whether you enjoy listening to music, record podcasts, work with microphones, or manage a home studio, understanding equalization can make a noticeable difference. Let’s explore how it works, what each frequency band does, and how to make adjustments without ruining the original sound.
What Is a Quad Equalizer?
A quad equalizer is an audio equalization tool designed around four adjustable frequency bands. Each band controls a particular portion of the audio frequency spectrum, allowing you to increase or reduce selected frequencies.
Think of it like adjusting the ingredients in a recipe. If a dish contains too much salt, you do not need to change everything. You simply correct the part that affects the overall taste. Audio equalization follows a similar idea.
For example, if music sounds too heavy, you can reduce some bass frequencies. If a singer’s voice sounds unclear, adjusting the middle frequencies may help improve its presence.
The four-band design provides a straightforward way to shape sound without requiring dozens of complicated controls.
Is it the same as a four-channel equalizer?
Not necessarily. These terms describe different things:
- Four-band equalizer: Controls four frequency ranges within an audio signal.
- Four-channel equalizer: Processes four separate audio channels.
- Quadraphonic audio: Refers to a four-channel sound reproduction system.
This distinction matters because the word “quad” can describe different audio technologies. Always check the equipment specifications before assuming that a device has four frequency controls.
How Does a Quad Equalizer Work?
The basic principle behind a quad equalizer is frequency adjustment. Every sound you hear contains different frequencies, measured in hertz (Hz).
Low frequencies produce bass, middle frequencies contribute to the body of voices and instruments, and high frequencies add brightness and detail.
An equalizer changes the level of selected frequencies rather than changing the entire recording equally.
For example, imagine listening to a podcast through headphones. The speaker’s voice sounds slightly muddy, making certain words difficult to understand. Reducing some unnecessary low-mid energy may make the voice sound cleaner.
On the other hand, if the recording sounds thin, a small adjustment in the lower frequencies may restore some warmth.
Understanding gain adjustment
Gain determines how much a frequency range is increased or decreased.
It is usually measured in decibels (dB).
- Positive gain increases the selected frequencies.
- Negative gain reduces the selected frequencies.
- Zero gain leaves the original level unchanged.
For beginners, smaller adjustments are usually a better starting point. A change of 1–3 dB can sometimes be more useful than applying a large boost.
Understanding the frequency spectrum
The audio frequency spectrum covers a wide range of sounds.
Human hearing is commonly described as approximately 20 Hz to 20 kHz, although actual hearing ability varies with age and individual circumstances.
An equalizer lets you work with selected portions of this spectrum to improve the balance of your audio.
Understanding the Four Frequency Bands
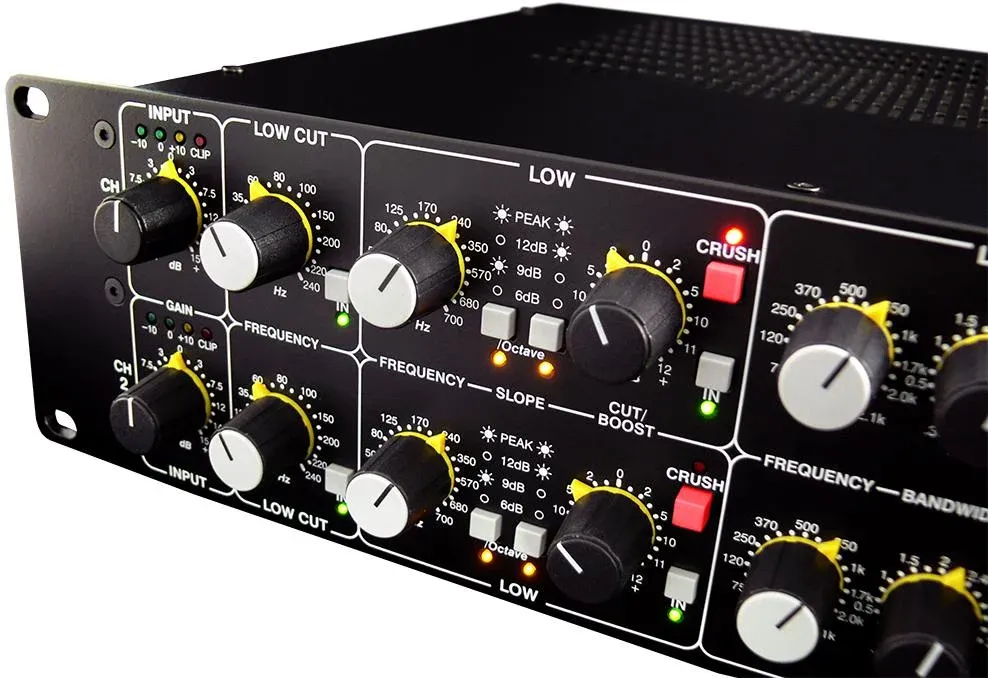
The most useful part of a four-band equalizer is understanding what each control changes. Once you know the purpose of every band, making adjustments becomes much easier.
1. Low frequencies: Deep bass and weight
Typical range: approximately 20–250 Hz
Low frequencies give music its depth and physical impact. You hear them in kick drums, bass guitars, electronic beats, and the deeper notes of certain instruments.
If your music sounds weak or lacks energy, a small low-frequency boost may help. However, increasing bass too much can make the sound muddy, especially when your speakers or headphones already emphasize low frequencies.
Try these adjustments:
- Increase the bass slightly if music sounds thin.
- Reduce excessive low frequencies if the sound feels heavy.
- Listen to kick drums and bass instruments separately when possible.
The goal is to create depth without allowing bass to cover other sounds.
2. Low-mid frequencies: Warmth and fullness
Typical range: approximately 250–500 Hz
Low-mid frequencies contribute to the body of instruments and voices. They help make music feel full rather than empty.
Too much energy in this area can create a boxy or muddy sound. This is especially noticeable in recordings made in untreated rooms.
For example, if a singer sounds as though they are performing inside a cardboard box, excessive low-mid energy may be contributing to the problem.
A gentle reduction can sometimes improve clarity. Be careful, though. Removing too much can make voices and instruments sound thin.
3. High-mid frequencies: Presence and definition
Typical range: approximately 500 Hz–4 kHz
High-mid frequencies play an important role in how clearly you hear voices, guitars, piano notes, and many other instruments.
They help sounds stand out in a busy recording.
If vocals disappear behind background music, adjusting this range may improve their presence. However, excessive boosting can make voices sound harsh or tiring.
A useful approach is to make a small adjustment and listen to the entire recording again rather than focusing on one instrument.
4. High frequencies: Brightness and detail
Typical range: approximately 4–20 kHz
High frequencies contribute to brightness, crispness, and fine audio details.
You may notice them in cymbals, hi-hats, breath sounds, and the sharper parts of certain instruments.
If the recording sounds dull, a slight high-frequency boost may help. But too much can introduce an unpleasant sharpness, particularly with low-quality recordings or bright headphones.
Remember that these frequency boundaries are approximate. Actual equalizer bands can overlap, and their ranges depend on the equipment or software being used.
Important Controls You Should Understand
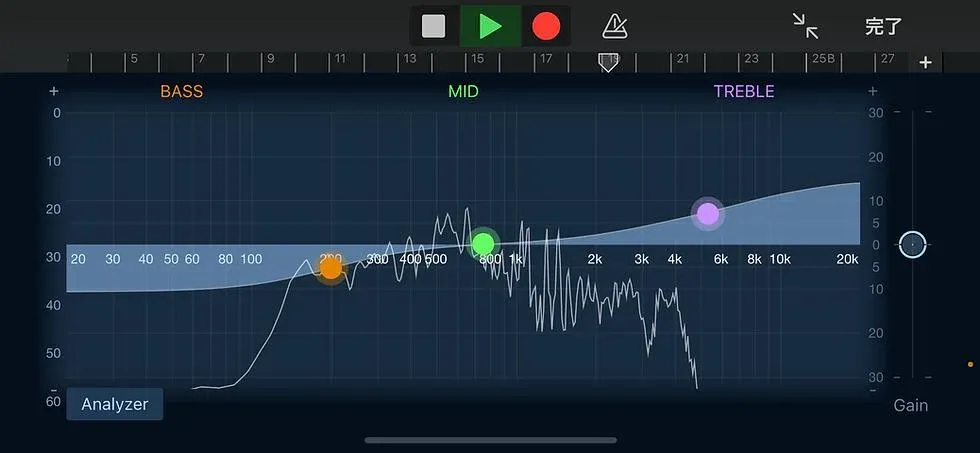
Knowing the four bands is only the beginning. A few additional controls determine how accurately you can shape the sound.
Frequency
Frequency determines which part of the audio spectrum you are adjusting.
For instance, reducing a frequency around 100 Hz affects a different part of the sound than reducing one around 3,000 Hz.
Some equalizers allow you to choose an exact frequency, while simpler devices provide fixed controls.
Gain
Gain controls the amount of boost or reduction.
When using a quad equalizer, you should begin with moderate adjustments rather than pushing every control to its maximum.
Large boosts can increase distortion or reduce available headroom, particularly when several frequency bands are boosted together.
Q factor
The Q factor determines how wide or narrow a frequency adjustment is.
- A low Q value affects a wider frequency range.
- A high Q value affects a narrower frequency range.
For example, a narrow adjustment can target a specific unpleasant resonance, while a wider adjustment can change the overall character of a sound.
Not every four-band equalizer provides an adjustable Q factor. Some models use fixed frequency widths.
Different Types of Audio Equalizers
Not all equalizers work in the same way. Understanding their differences will help you choose equipment that matches your needs.
Graphic equalizer
A graphic equalizer usually provides several frequency sliders arranged across the audio spectrum.
Each slider controls a particular frequency band. Moving the sliders up increases the selected frequencies, while moving them down reduces them.
This design is popular because it is easy to understand visually.
A graphic equalizer is useful for:
- Adjusting the overall tonal balance.
- Correcting some speaker and room-related problems.
- Making quick changes during live performances.
- Personalizing music playback.
Parametric equalizer
A parametric equalizer offers more detailed control. Depending on the model, you can adjust frequency, gain, and Q factor independently.
This makes it useful for recording, mixing, mastering, and detailed audio correction.
A quad equalizer may use a parametric design, but the number of bands alone does not tell you whether it is graphic or parametric.
Digital and hardware equalizers
Hardware equalizers are physical devices connected to an audio system. Digital equalizers operate through software, plugins, mixing consoles, or audio-processing equipment.
Both can be useful. Your choice depends on compatibility, available controls, sound requirements, and budget.
Benefits and Practical Uses of a Quad Equalizer
Why would someone need four-band frequency control when most devices already produce sound without it?
The answer is simple: different audio environments have different problems. A well-adjusted equalizer can help you address those problems.
Better music listening
If you listen to music every day, equalization gives you more control over its tonal balance.
For example, electronic music may benefit from controlled bass, while acoustic recordings may sound more natural with a balanced middle range.
A quad equalizer gives you a simple starting point for experimenting with these differences.
Improved vocal clarity
Clear speech matters when recording podcasts, attending online meetings, or producing voiceovers.
Reducing unnecessary low-frequency buildup and carefully adjusting the presence region may make spoken words easier to understand.
Avoid boosting every high-mid frequency, though. That can make voices sound aggressive instead of clear.
More balanced headphone sound
Different headphones have different frequency responses.
Some emphasize bass, while others produce brighter treble or less prominent middle frequencies.
A quad equalizer can help you make moderate corrections based on your listening preferences. However, it cannot completely fix poor hardware, damaged drivers, or physical fit problems.
Home recording and studio work
Musicians and content creators often use equalization to help different audio sources work together.
For example, a recording may contain vocals, guitar, keyboard, and percussion. Adjusting their frequency balance can reduce unwanted overlap and make the final mix easier to hear.
Live sound applications
During live performances, audio engineers adjust equalization to improve clarity and manage feedback.
Microphones, loudspeakers, stage positioning, and room acoustics all influence the final result.
An equalizer can help address tonal problems, but it should not be treated as a complete solution for microphone feedback. Microphone placement and speaker positioning matter too.
How to Adjust Equalizer Settings: A Beginner’s Guide
You do not need expensive equipment or professional audio training to start adjusting frequencies. A few careful changes can help you understand what your audio system needs.
Here is a simple process you can follow when setting up a quad equalizer.
Step 1: Listen to the original sound
Before changing anything, play a familiar song or recording.
Choose something you know well, preferably with vocals, bass, and different instruments. Pay attention to what sounds wrong.
Ask yourself:
- Is the bass too strong?
- Are the vocals difficult to hear?
- Does the music sound dull?
- Are high notes uncomfortable?
Knowing the problem makes it easier to choose the right adjustment.
Step 2: Start with flat settings
Set all four bands to zero gain if your equipment allows it.
This gives you a neutral starting point. You can compare the original sound with your adjusted version without wondering whether previous changes are affecting the result.
A quad equalizer works best when you understand what you are trying to correct instead of moving controls randomly.
Step 3: Adjust one frequency band at a time
Avoid changing all four bands simultaneously.
Start with the frequency range that seems responsible for the problem.
For example, if the bass sounds too heavy, make a small reduction in the low-frequency range. Listen again before touching the other controls.
This approach helps you identify which adjustment actually improves the sound.
Step 4: Make small changes
Large adjustments are tempting, especially when you want an immediate difference.
However, boosting a frequency too much can make the recording sound unnatural.
Try small changes, such as 1–3 dB, and compare the result with the original recording.
A quad equalizer should help preserve the natural character of the audio rather than completely changing it.
Step 5: Test different audio sources
Do not judge your settings using only one song.
Try different recordings, including:
- Music with deep bass.
- Acoustic guitar recordings.
- Spoken podcasts.
- Female and male vocals.
- Instrumental music.
A setting that sounds excellent with electronic music may not work equally well for classical music or spoken content.
Step 6: Compare at similar listening volumes
An adjusted recording can sometimes seem better simply because it sounds louder.
When comparing settings, try to keep the listening volume similar. This gives you a fairer idea of whether the tonal balance has actually improved.
Step 7: Save settings you like
Once you find a balance that works, save it if your equipment supports presets.
You might create separate profiles for music, movies, gaming, and spoken content.
Remember that these profiles are starting points, not universal solutions.
Common Equalizer Mistakes to Avoid
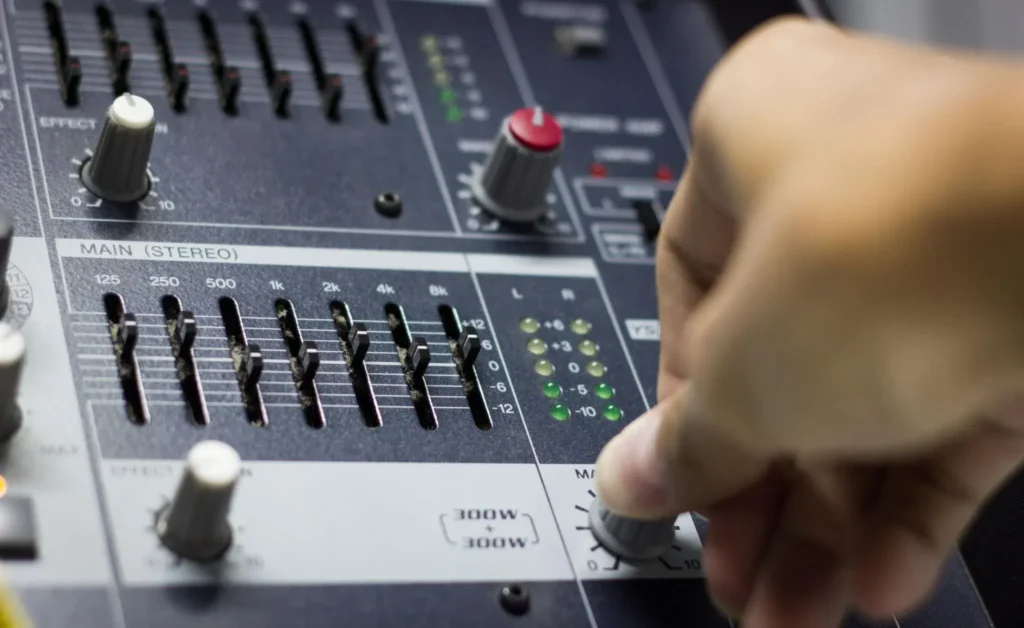
Even a simple audio adjustment can create problems when you make changes without understanding their effects.
Here are some mistakes worth avoiding.
Boosting every frequency
Increasing all four bands does not automatically improve sound quality.
It may simply make the signal louder and reduce headroom. Instead, identify which frequencies need adjustment.
Adding too much bass
Heavy bass can initially sound impressive, but excessive low frequencies may hide vocals and instruments.
A balanced recording usually feels more enjoyable over longer listening sessions.
Removing too much midrange
Some beginners reduce the middle frequencies because they want a more powerful bass sound.
Unfortunately, this can make music sound hollow. The midrange carries much of the information that helps us recognize voices and instruments.
Ignoring room acoustics
Speakers interact with the room around them.
Walls, furniture, room dimensions, and speaker placement can influence what you hear.
A quad equalizer can help with some tonal imbalances, but it cannot replace appropriate speaker positioning or acoustic treatment.
Making adjustments at excessive volume
Listening at high volumes can make it difficult to judge subtle differences and may put your hearing at risk.
Keep the volume comfortable, especially when testing new settings.
Quad Equalizer vs. Four-Channel Equalizer
These terms may sound similar, but they describe different functions.
A four-band equalizer adjusts four frequency ranges within an audio signal. A four-channel equalizer processes four separate audio channels.
For example, a professional audio device may have four independent inputs, each with its own equalization controls.
Quadraphonic sound is another related term. It describes a playback format that uses four audio channels, often associated with four speakers positioned around the listener.
A quad equalizer should therefore not automatically be confused with a quadraphonic sound system.
There is also a different application in digital electronics. For example, the Texas Instruments DS32EV400 is a DisplayPort quad equalizer designed to compensate for signal loss across four data channels.
Understanding these differences is particularly useful when shopping for audio equipment or researching technical products.
How to Choose the Right Equalizer
The best choice depends on how you plan to use it.
Before purchasing an equalizer, consider the following factors.
Number of frequency bands
A four-band model is often sufficient for basic tonal adjustments.
If you need more detailed control over individual frequencies, you may prefer a parametric equalizer with additional adjustable bands.
Available controls
Check whether the equipment provides:
- Independent gain adjustment.
- Adjustable frequency selection.
- Q factor controls.
- Presets or custom profiles.
- Stereo or individual channel processing.
These features determine how much control you have over the final sound.
Device compatibility
Make sure the equalizer works with your existing equipment.
Check the available connections, supported audio formats, software compatibility, and signal requirements.
For example, a studio recording interface may require a different solution from a home stereo system.
Ease of use
If you are new to audio processing, a simple interface may be more useful than a complicated professional plugin.
Choose something that allows you to understand each adjustment without spending hours learning the controls.
A quad equalizer is particularly useful as a starting point when you want straightforward control without an overwhelming number of settings.
Build quality and budget
For hardware equipment, consider construction quality, connectivity, reliability, and manufacturer support.
For software, look at compatibility, updates, available features, and whether the free version meets your needs.
FAQs: Quad Equalizer
1. What is a quad equalizer used for?
It is used to adjust four frequency ranges within an audio signal. You can change bass, warmth, vocal presence, and treble to create a more balanced listening experience. It is useful for music playback, home recording, headphones, speakers, and other audio applications.
2. Is a four-band equalizer better than a graphic equalizer?
Not necessarily. A four-band equalizer describes the number of frequency bands, while a graphic equalizer describes a particular equalizer design. The right option depends on the controls you need and how much adjustment flexibility your audio system provides.
3. What are the best settings for bass and vocals?
There is no single setting that works for every recording. Start with flat settings, then make small adjustments. Reduce excessive low frequencies if bass overwhelms vocals, and carefully adjust the middle frequencies if speech needs more presence.
4. Can a quad equalizer improve headphone sound?
Yes. It can help adjust frequency imbalances and personalize the sound of headphones. However, it cannot repair damaged speakers, eliminate every distortion problem, or completely compensate for poor headphone design.
5. What is the difference between a four-band and four-channel equalizer?
A four-band equalizer adjusts four frequency ranges in an audio signal. A four-channel equalizer works with four separate audio channels. These are different concepts, even though both may appear in professional audio equipment.
Conclusion
Getting better audio does not always require buying expensive headphones, speakers, or recording equipment. Sometimes, understanding how frequencies work is enough to make your existing setup sound more balanced.
A quad equalizer gives you a practical way to adjust bass, warmth, vocal presence, and treble through four frequency bands. Once you understand gain, frequency selection, and Q factor, you can make more informed adjustments instead of randomly moving controls.
Start with flat settings, listen carefully, and change one frequency range at a time. Small adjustments often produce more natural results than aggressive boosting.
Also, remember that your headphones, speakers, room, and original recording all influence the final sound. What works for one setup may not work for another.
If you are new to equalization, choose a familiar song today and experiment with small adjustments. Compare the original and modified versions, save the settings you enjoy, and gradually develop your listening skills. The best equalizer setting is ultimately the one that makes your audio clear, comfortable, and enjoyable.